Growing Hino Crimson Kurume Azalea as a Bonsai Tree
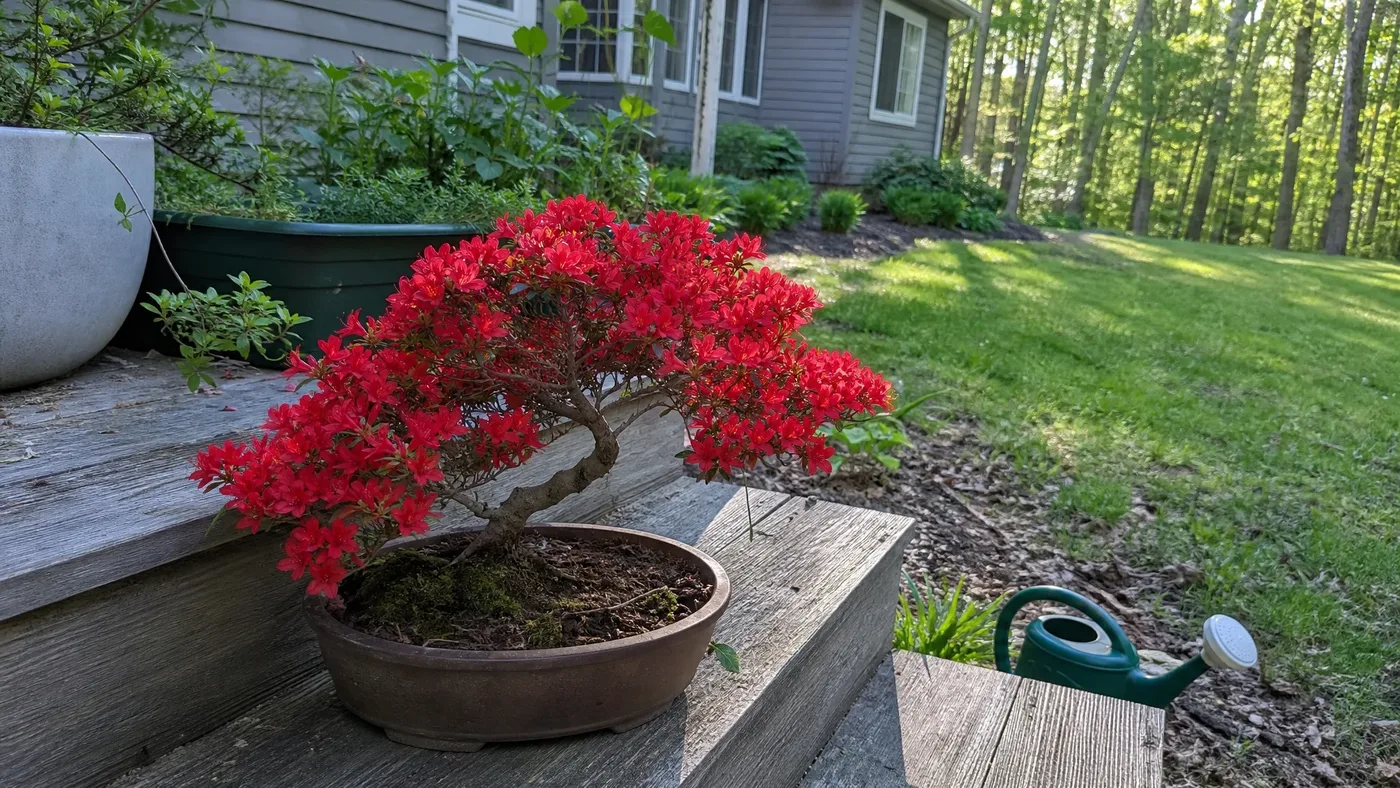
Hino Crimson has an ultimate height of just 4–20 inches, which makes it one of the few azaleas that starts life near bonsai scale. That is why a crooked little plant in a plain nursery pot deserves a second look, and why the soil in that pot matters more than the trunk. It will either become a tree or fail there.
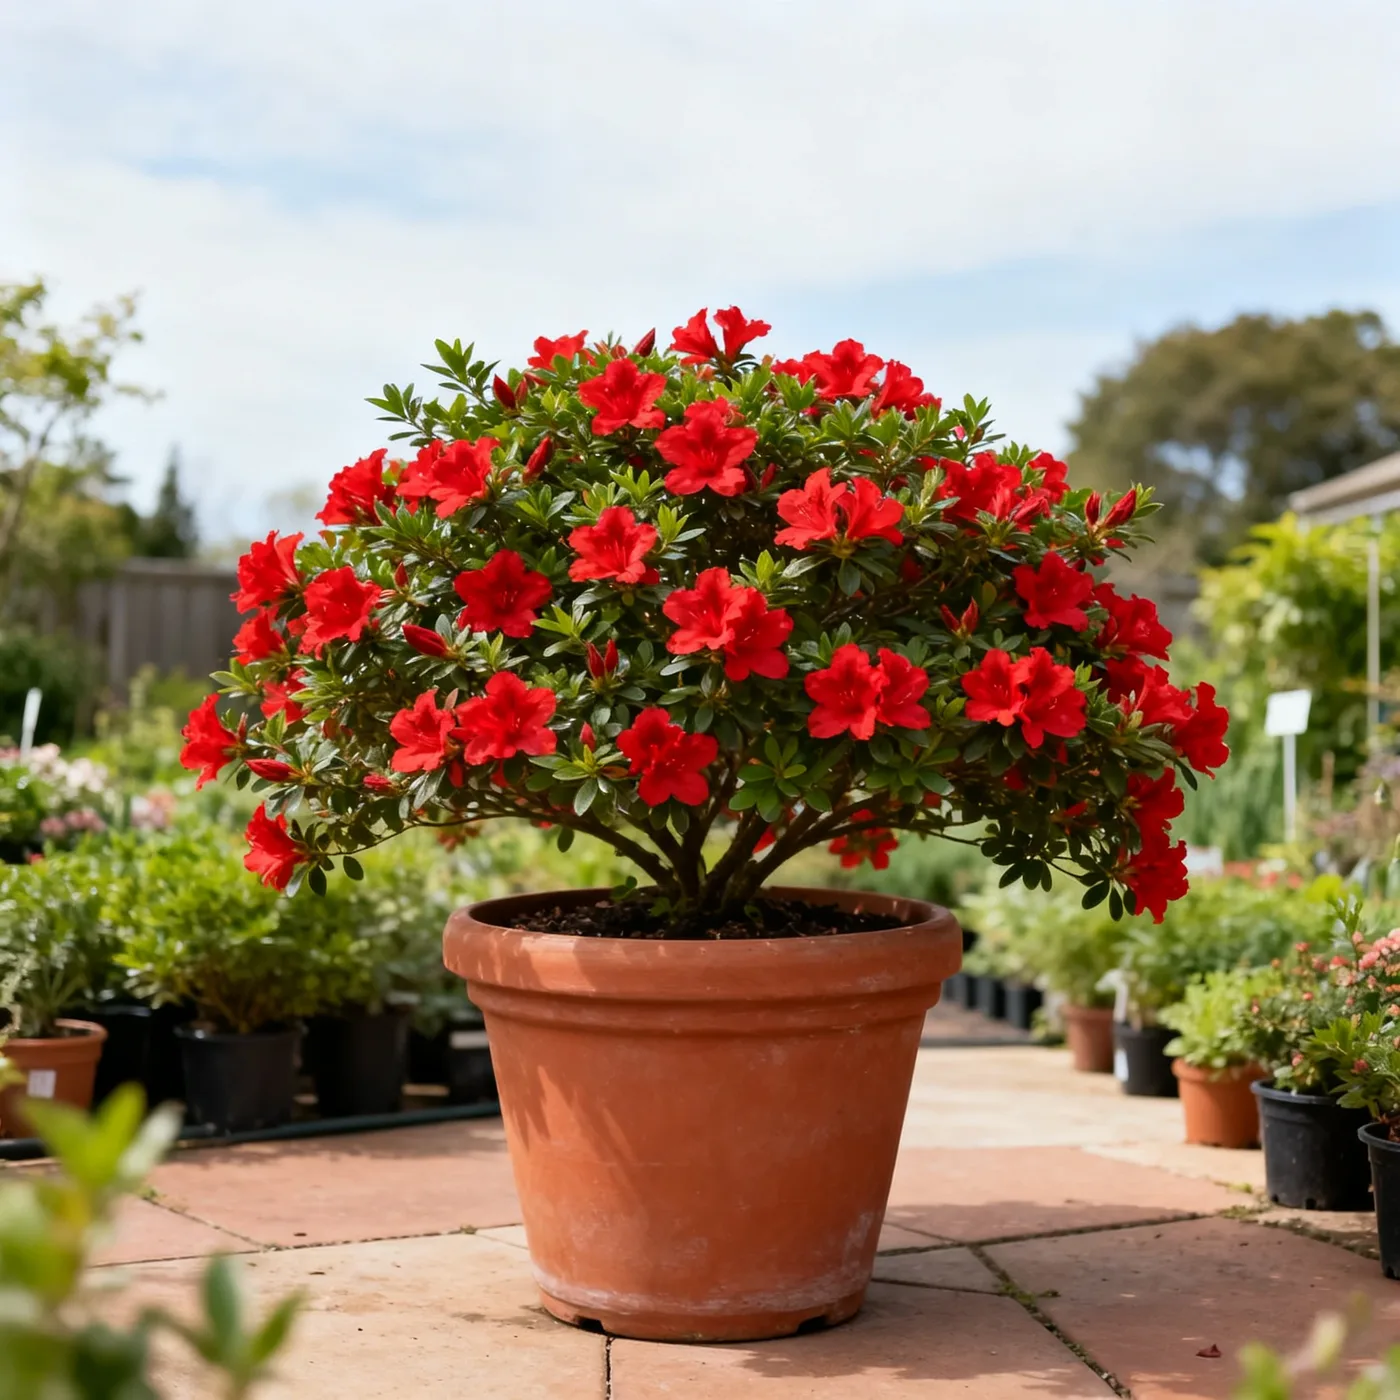
Fine roots that stay cool, damp and full of air build a tree. Roots that sit wet or bake dry build a dead one.
This guide covers everything you need to know about training this cultivar as bonsai, from choosing young stock and mixing a gritty soil to timing cuts around the bloom, wiring brittle twigs, watering a shallow pot and setting a feeding and repotting rhythm.
Start With Young Stock That Has Good Bones
Choose the trunk line before you choose the flowers. Turn the pot slowly and look low on the plant. A gentle curve or a crook near the base is the raw material for a tree, while a ramrod trunk can be wired but never gains that movement. In our rows, the best young plants are rarely the ones in full bloom.
Hino Crimson grows as a low, compact shrub with flat, tiered branches, so the tiers on a young plant often become the foliage pads of the finished tree. It is also smaller and lower than Hinodegiri, so confirm the cultivar name before you buy. That small natural scale is the reason this cultivar suits a pot at all.
Trunk and Branch Checks
Run through these checks before you pay, because each one predicts a problem you would otherwise find two seasons later.
- Look for a trunk that is thicker at the base than at the first branch, with branches at more than one level so you can still choose your first branch.
- Avoid large flush cuts on a thin trunk, because a big scar on a small tree is hard to hide.
- Turn the leaves over and look for stippling, sticky residue or scale bumps. Possible pests include vine weevil, whitefly, leafhopper, lacebug, scale, caterpillars and aphids.
- Treat bronze leaves in winter as normal. Oregon State describes the small glossy green leaves as turning bronze in winter, so color alone is not a disease sign.
Reading the Roots
Roots decide whether the trunk is worth buying. If the seller lets you slide the plant out, look for a mat of fine, light-colored roots that holds the soil together. Circling roots can be corrected at the first repotting. A dark, soft mass or a sour smell points to waterlogging, and we would pass on that plant.
Why Hino Crimson Kurume Azalea Roots Want Fine, Gritty Soil
Azalea roots are shallow and fine, closer to a mat of hairs than a few thick anchors, and that single trait explains the whole soil recipe. Fine roots need air and water at the same time. Dense, muddy soil fills the air spaces and the hairs suffocate. Soil that is too coarse and dry lets them shrivel between waterings. The target is a mix that drains in seconds yet stays damp.
Build that mix from small, evenly sized gritty particles plus a smaller share of acidic organic matter, and sift out the dust. Dust is the problem ingredient. It packs into the gaps between grains, slows drainage and slowly turns a good mix into a sponge. Sifting is tedious, but it is the cheapest insurance in this whole project.
Keeping Acid Soil Acid
The University of Georgia Extension puts the preferred range for azaleas at pH 4.5–6.0. Above 6.0 the plant cannot take up some nutrients no matter how much fertilizer you add. A small pot holds little soil to buffer change, so alkaline tap water or any grit that reacts with acid, such as limestone, can push the pH up faster than it would in a garden bed.
The ideal is moist but well-drained, leafy, humus-rich acid soil, which sounds like the opposite of gritty. The two fit together once you keep the organic part fine and acidic and let the grit carry the drainage. Our guide to soil and pH for Hino Crimson covers testing in more detail.
Reading Soil Trouble in the Leaves
Yellow leaves with green veins, a pattern called chlorosis, usually point to pH before they point to hunger, so test before you feed. Yellowing across the whole leaf with slow growth and a soggy pot points to drainage instead. We cannot tell the two apart from a photo, which is why we check the soil first and the fertilizer second.
Pruning Roots and Branches Around the Spring Bloom
Do the structural cuts in the weeks right after the last flower drops. The University of Georgia Extension advises pruning azaleas after they bloom and says to avoid pruning spring-blooming azaleas after July 1, because later cuts remove the flower buds for the following spring.
Bloom timing varies by climate. Flowering comes in mid to late spring in the UK, and warmer regions may flower earlier, so watch your plant rather than the calendar. Many bonsai books say to repot at bud swell in early spring. With a flowering azalea we would rather wait, because root work at bud swell costs you the flowers you grew it for.
Branch Cuts After the Petals Drop
Pick off spent flowers, then cut back branches that cross, shoot straight up or crowd a pad. Cut to a pair of leaves or a side shoot that points the way you want the branch to grow. The leaves are small, so even a modest cut shows, and keeping the flat tiers clean matters more than keeping the tree small.
Through early summer, pinch soft new shoot tips to keep the pads dense, and stop as July 1 approaches. Our pruning guide covers the garden version of these cuts. The bonsai version differs mainly in how small the pieces are.
Root Work Without the Shock
Combine root pruning with repotting instead of treating it as a separate event. Lift the plant, comb out the outer roots and trim only the outer part of the mass, keeping the fine inner roots and their soil intact. Azalea roots are shallow, so there is little to spare. Replant at the same depth, since planting too deep can be lethal.
On a weak tree, spread branch work and root work over different years. Water well afterward, keep the tree in part shade, and hold off on fertilizer until new growth appears.
Wiring Hino Crimson Kurume Azalea Without Marking the Bark
Thin azalea twigs snap before they bend, and the bark marks easily, so wiring is slow work done in small moves. The best moment is right after the post-bloom pruning, when you can see the structure clearly. Wire only the branches you have already decided to keep, and use wire just heavy enough to hold a branch and no heavier. Keep trimmings and the tree away from pets, since azalea is toxic to dogs and cats.
Follow these steps for each branch:
- Soak the pot the day before so the twigs are full of water and more supple.
- Anchor the wire at the trunk or around a sturdier branch so it cannot slide.
- Wrap at an even, shallow angle, laying each coil snug against the bark without squeezing it, and pass between the leaves instead of over them.
- Bend in small stages with your thumbs braced behind the curve, easing the branch a little each time instead of forcing the final shape.
- Look at the wire often through the growing season for any coil starting to press into the bark.
- Cut the wire off as soon as the branch holds its position.
When to Take the Wire Off
Remove wire before it cuts in, not after. Azalea branches thicken in the growing season, and a wire that looked loose in spring can leave a spiral scar by midsummer. Scars on thin bark hide poorly. Snip the wire in short sections with small cutters instead of unwinding it, because unwinding strains the branch you just set.
If a branch cracks but stays attached, wrap it gently, wire it loosely and leave it alone, since it may knit. If it separates, cut it clean at the joint.
Watering a Shallow Pot: Cause and Effect
A shallow bonsai pot holds only a small volume of soil, so it has little water in reserve, and the fine roots in it have no deeper layer to reach into. Every drying rate you see follows from that. A small canopy in full sun can pull the pot dry in a day, while the same pot in shade stays damp far longer.
Part shade in a sheltered position is recommended, and the plant is sun tolerant if soil is reliably moist. In a bonsai pot, reliably moist is the hard part. You can give more shade or water more often, and we usually choose shade first because it removes the cause instead of chasing the symptom.
Customers usually ask us how often to water. We cannot give a number, because pot depth, mix, sun and weather all change it. Test the pot instead. Push a finger just below the surface or lift the pot to judge its weight, then water thoroughly when the top starts to dry, until water runs from the drainage holes.
This table matches what you see to the likely cause and the adjustment.
| What you see | Likely cause | Adjustment |
|---|---|---|
| Brown, crisp leaf edges and a light pot | Pot drains and dries faster than you water | Move to more shade or check the pot at midday |
| Limp leaves in soggy soil | Roots suffocating from poor drainage | Hold water and plan a repot into a grittier mix |
| Water runs off the surface | Dried root mass repelling water | Stand the pot in a tub of water until the surface darkens |
| Yellow leaves with green veins | Soil pH too high | Test the soil and your water |
The tree is evergreen, so keep checking the pot through winter. Our guide to watering Hino Crimson covers the garden basics.
Feeding and Repotting Hino Crimson Kurume Azalea on Schedule
Feeding and repotting belong in one rhythm because they solve the same problem from two sides. Roots fill a shallow pot, the soil breaks down around them, drainage slows, and fertilizer starts doing more harm than good. Feed to support growth, repot to keep the soil open, and never use one to cover for the other.
Feed After Bloom
Begin feeding once flowering has finished and new growth is moving. Use a fertilizer made for acid-loving plants and keep it weak, since a small volume of soil concentrates salts quickly. Leave a freshly repotted tree unfed until it shows new growth. Our guide on how and when to fertilize covers the garden side, and the same logic applies to the pot.
Repot When the Roots Say So
Read the pot instead of the calendar. Water that pools on the surface or races straight through, roots circling the drainage holes and a root mass that lifts out as a tight block are the signals. Repot in the weeks after bloom with the root pruning described above, and set the root collar at soil level. Ask your local extension service how the timing shifts in your region.
Winter Exposure
Hardiness ratings describe plants in the ground, and a pot exposes the roots to cold air on every side. Sources differ on this cultivar. Oregon State says hardy to Zone 7, while USDA Zone 5 is also listed. We would plan for the lower rating and shelter the pot from wind. See our winter care guide for protection methods.
Hino Crimson Kurume Azalea Bonsai, Finished and Maintained
A finished Hino Crimson bonsai is a small tree with a curve at the base, tiered pads of small glossy leaves that turn bronze in winter, and bright red flowers in mid to late spring. Keeping it that way is routine: gritty acid soil, shade or reliably moist soil, cuts after bloom and never after July 1, wire off before it bites, and feeding matched to growth.
When you are unsure about the tree, check the roots rather than the leaves. Years from now, lift the pot and slide the tree out. A healthy root mass is a dense web of fine, light-colored roots that holds the soil together as one block, reaches the pot walls without choking the drainage holes, and smells like clean earth instead of sour mud.
Hino Crimson Kurume Azalea
Nursery-grown Hino Crimson Kurume Azalea in sizes from 3 Gallon, shipped to your door.
From $79.95
Shop Now →Hino Crimson does best in the conditions we give it on our farms: moist but well-drained, humus-rich acid soil with part shade. We grow and sell top-quality plants from those farms, and a tree headed for a bonsai pot deserves a healthy root system from its first day. Begin your bonsai with one of our plants and let it grow into the tree you have in mind.